3D Vision Systems
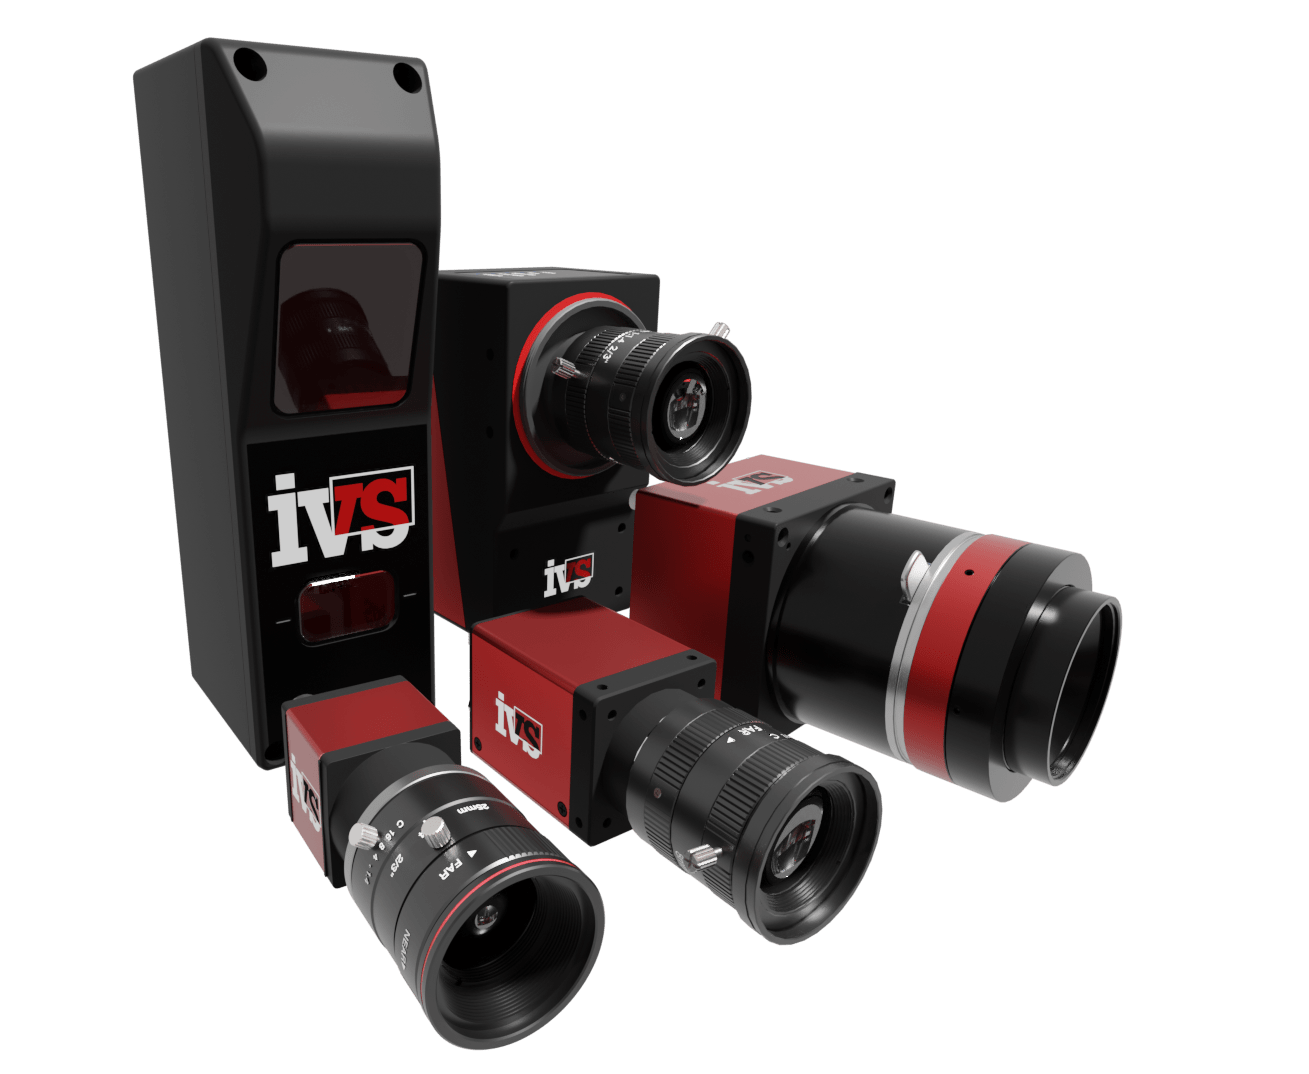
3D smart sensors for improved factory production, quality control, scanning and process optimisation.
Use intelligent 3D vision to automate your in-line product quality inspection processes.
With 3D smart sensors, you can start automating process, inspect products, and optimise your production line. With 3D smart sensors, you can achieve everything from parts inspection, industrial automation, robot control, and quality control, through to assembly quality inspection, surface checking, and metrology measurements.
3D scanning allows you to quantify and check for the correct shape, geometric features, interior aspects, and critical defects in the Z-axis. Quality checks on parts and shapes in three dimensions at production speeds are now possible.

Why you need our 3D vision systems
Discover the benefits of IVS providing your 3D smart sensor solution

Powerful 3D Scanning
Our vision guidance systems are designed for quick and easy integration with all the major robot manufacturers. Our vision systems take the guesswork out of integration. With both 2D and 3D systems for advanced robot guidance.

Easy-to-use 3D Vision
Our 3D vision sensors, systems and solutions are ready-made for ease-of-use automated inspection. Our powerful vision interface provides real-time data and statistics so you understand your production.
Versatile 3D Inspection
Our 3D machine vision solutions safeguard your quality, providing a wide range of features and properties. Flexible and adaptable, with everything from precision metrology checks through to product and packaging verification.
Our 3D vision inspection products
Explore some of the key features and benefits of using IVS 3D vision systems for your production and process control
Latest Generation 3D Profile Systems
High-throughput, high-volume inspection applications require 3D laser line profile sensors. Our 3D smart sensors are built to withstand the harsh industrial conditions of the factory floor. The simple and adaptable design of our machines enables factories to reduce costs and maximise profits by improving product validation efficiencies. Our machine come pre-calibrated to scan micron-level details at high speed and low latency. Automated metrology checks now become a reality and allow you to inspect your products to precision detail, at high speed. Drill down on the Critical to Quality (CTQ) parts of your inspection needs.
Inspection Machines with 3D Snapshot Sensors
Capture 3D images in a single shot. Combining award-winning IVS vision tools with cutting-edge 3D image capture allows dependable and accurate solutions for applications such as gauging & measurement, assembly verification, in-line surface checks, and robotic guiding. LED controlled lighting with 3D checking tools built-in for high-precision scanning, surface checking and quality inspection.

3D Robot Vision & Bin Picking
Robotic bin picking of randomly placed parts is a notoriously difficult task for robots, but increasing levels of flexibility and adaptability using 3D vision are making today’s robots capable of effectively picking randomly oriented objects. Automate your processes, increase effectiveness and throughput whilst ensuring the highest quality. Let IVS robot vision provide the 3D eyes and brains for your robots and bin-picking solutions. Our structured light projection approach provides accurate point clouds for fast localisation of any desired part. The robustness of the scanner ensures superior quality of scans, which makes it the ideal scanner for even the harshest environments. Fully integrated with all standard robots, we can deliver a complete turn-key bin picking solution for you.
Non-contact 3D Precision Metrology
The measurement and characterisation of micro- and nano-scale characteristics on natural or artificial surfaces is known as 3D surface metrology. We utilise both point and line confocal solutions to provide precision automated inspection at micron level metrology measurement. Get one shot height inspection combined with low distortion area inspection providing accurate metrology inspection.
Automate Critical to Quality (CTQ) features to reduce the need for CMM inspection, our machines provide the benefits of a digital microscope combined with industrial automation to check surfaces and measure features in one. Fully validated to GAMP to provide immediate benefits in productivity and quality inspection.
Interested in 3D Vision Inspection Solutions?
Get in touch today so we can answer and questions you have regarding our 3D profiles, sensors and 3D vision solutions. See how they can save you money, automate your process and increase your yield.
Send us a message and we will respond as soon as possible.
Have a Question? Get in touch
Integrated 3D inspection vision systems and machines – designed, built and installed by our expert engineers.
Why you need 3D vision systems
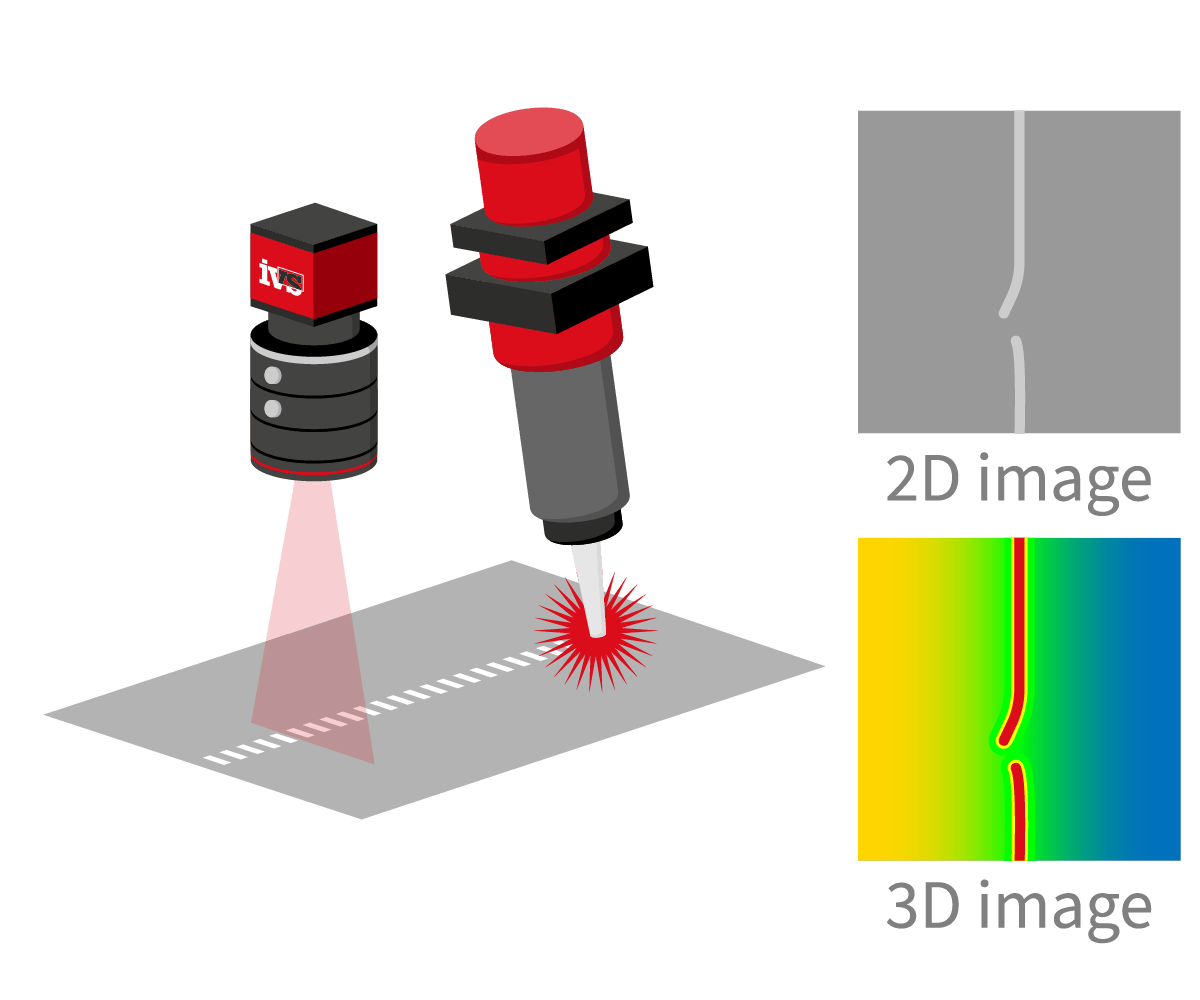
In contrast to 2D, which just records contrast, 3D technology captures the contour and topography of an item. You can use 3D forms to measure geometric characteristics on a surface independent of its colour.
In summary, 3D offers:
- Volumetric measurement (X, Y, and Z axes) yields shape and position characteristics.
- Invariant to contrast, making it perfect for analysing low contrast objects or diverse coloured products.
- When compared to 2D vision, it is resistant to modest illumination variations or ambient light.
- Increased repeatability as a result of integrated optics, illumination, and pre-calibration.
- Multi-sensor systems for big object examination are easier to develop.
How to 3D vision sensors work?
3D vision employs slightly different technologies depending on the 3D sensor involved. The following are the most common basic 3D vision systems:
The Fundamentals of Laser Triangulation
A laser triangulation sensor casts a laser pattern onto an object’s surface and captures it with a camera or receiver array. A CPU on the camera locates the imaged laser and determines the distance between the sensor and the surface. Triangulation sensors employ lasers because they efficiently create narrow, intense, and perfectly focused beams that minimise camera exposure periods and effectively remove mistakes caused by object motion blur.
Structured Light Fundamentals
Structured light (fringe projection) uses reflections of one or more light patterns projected onto an object to generate a 3D point cloud of its surface. Stereo cameras are employed in the sensor to ensure maximum accuracy and sensor stability. Blue LED lighting is utilised to generate high-contrast patterns that allow for high-resolution scanning while being resistant to ambient light. LED illumination is safe for the eyes and does not necessitate compliance with laser safety laws.
The advantages of using 3D vision systems versus 2D vision systems.
Machine vision is one of the driving forces behind industrial automation. For a long time, it was largely carried ahead by developments in 2D image sensing, and 2D approaches remain the best option for several applications. However, the bulk of machine vision difficulties today are 3D in nature. So, what are the benefits of 3D machine vision over 2D machine vision?
1. Measurement of depth or height. The produced point cloud may be used to obtain detailed 3D height information. Previously, this would have been accomplished with a single laser sensor, but modern 3D profile and snapshot cameras can do this computation in real time. How far away from the camera is the object?
2. Strike a pose. How is the thing presented, and how is it lying? This is crucial information in bin-picking. The 3D vision system can instruct the robot on how to approach each thing in the bin in order to correctly select it.
3. Measurement Information The quantity of data accessible for analysis is multiplied by an extra factor based on the computed 3D point cloud. This enables operations to collect high-quality production data and information on quality changes.
4. Topography of Objects The topography of a part may be analysed using 3D vision. This includes analysing dents, dints, scratches, shorts, flash, moulding flaws, surface and 3D data for quality approval.
What can 3D Robot Vision do for me?
Adding 3D vision to a robot transforms repetitive, fixed motion into smart movement, allowing you to get more out of your automation investment. What does IVS have to offer in terms of robot vision?
Vision Guidance
- We use built-in hand-eye calibration to combine IVS robot vision with robots.
- On insertion jigs, our vision sensors can recognise alignment characteristics while controlling movement to insert or match one item with another.
- Automotive sub-assembly insertion and checking is one use.
Robotic Pick and Place
- We use IVS robot vision to recognise target objects and direct the robot to pick them up.
- The robot transfers the target from one spot to another and positions it correctly.
- Various choosing tasks are included in applications (for example, structured and semi-structured bin picking).
Inspection Solutions That Are Versatile
- We provide complete solution for flexible 3D vision inspection.
- IVS vision inspection provides rich and detailed 3D scan data for precision measurement and inspection (for example, in automotive gap and flush inspection), and communicates pass/fail control decisions to factory machinery and PLCs.
Material Dispensing
- IVS 3D vision is used for pre- and post-assembly inspection applications.
- Inspection tools makes glue bead and weld seam inspection easy.
- Our system carry out inspection on both moving and stationary objects.


