Applications
Advanced inspection and machine vision applications, utilising the very latest vision system technology.
Industrial Vision Systems Applications.
Our vision system solutions cover a wide range of application areas. Everything from checking the presence of a screw or nut on an automotive sub-assembly, through to metrology checks on an orthopaedic joint, up to precision surface inspection of a continuous material web.
Our machine vision systems combine leading-edge technology and high-performance image processing to solve a wide variety of automated inspection, identification and quality control problems. Take a look at each of the areas we cover below – the chances are we have a solution for your inspection requirement.
Why you need our machine vision application solutions
Discover the benefits of IVS providing your vision system applications
Advanced Applications
A vision system like no other. Advanced algorithms, enhanced intelligence, feature analysis and extendable processing. We cover all areas of machine vision technology, combining application requirements into a single solution. We have you covered.
Precision Inspection
Our powerful vision algorithms provide real-time manufacturing image processing, designed so that your application can be easy solved and delivered. Detect unanticipated defects other inspections may miss using IVS application solutions.
Versatile Vision Applications
Enable flexible manufacturing and accommodate product changes. Powerful machine vision application across all industry sectors. Adaptable vision inspection designed for integration with the very latest factory control and information systems.
Our vision system application areas
Explore some of the key features and benefits of using an IVS vision system for inspection, guidance, quality and verification
Deep Learning/Artificial Intelligence (Ai)
Deep learning in the context of industrial machine vision teaches vision systems, robots and machines to do what comes naturally to humans, i.e. to learn by example. New multi-layered “bio-inspired” deep neural networks allow the latest IVS® machine vision solutions to mimic the human brain activity in learning a task, thus allowing vision systems to recognise images, perceive trends and understand subtle changes in images which represent defects.
Where appropriate, IVS® machines utilise deep learning and artificial intelligence back propagation networks for the classification of image and object characteristics in automated inspection.
Read MorePresence Verification
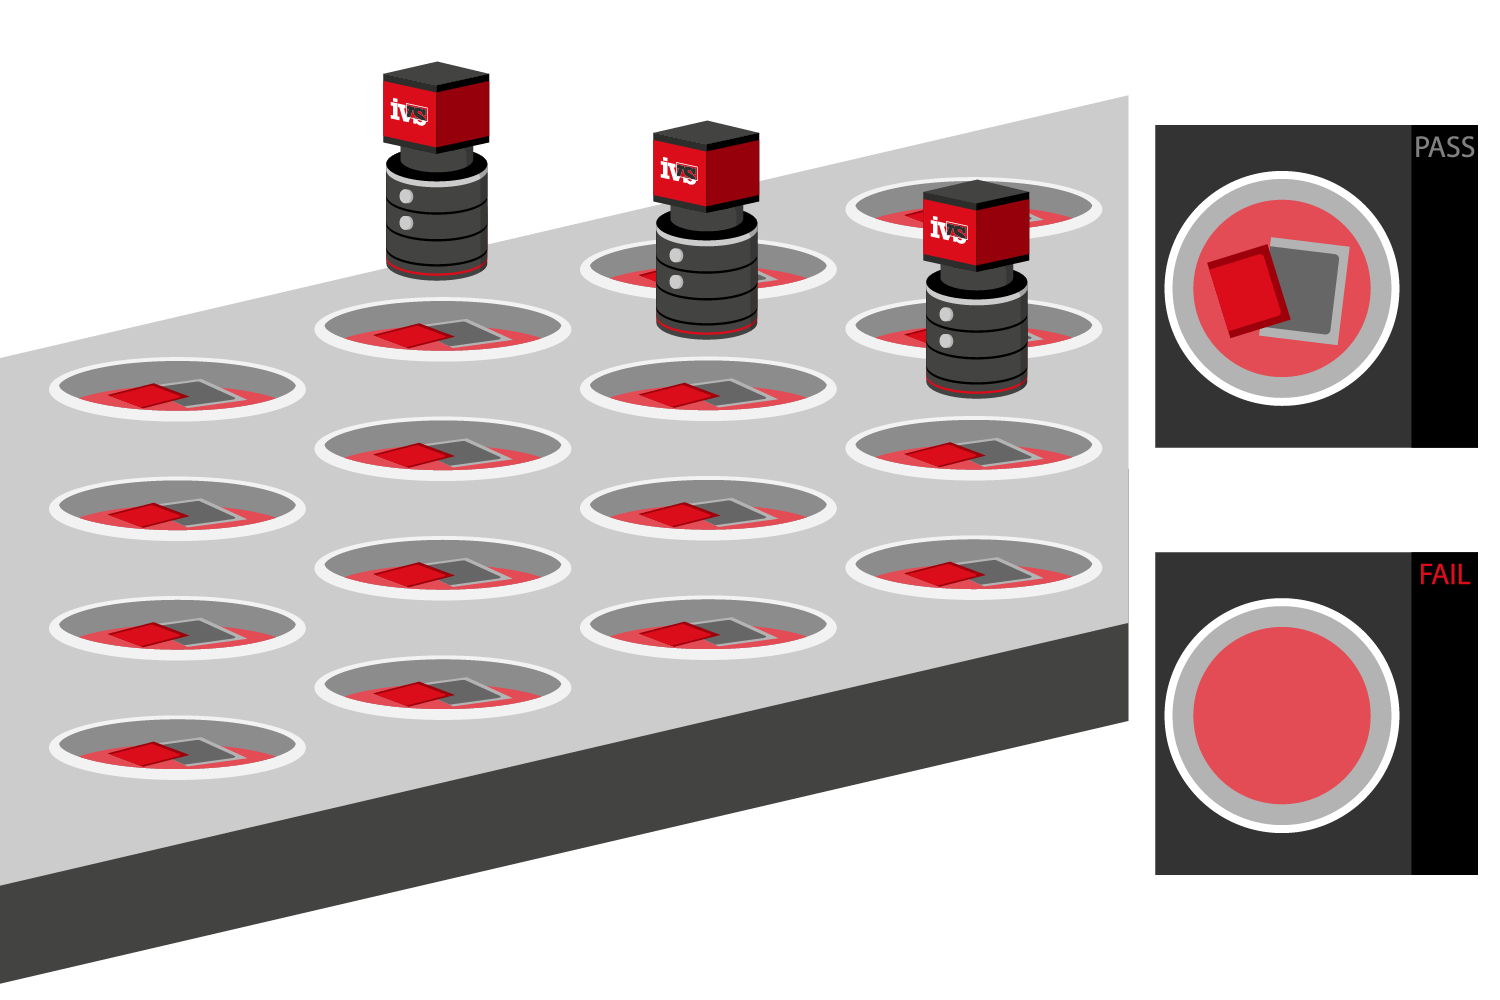
Presence inspection is used to confirm the quantity or the presence/absence of parts or components on a target. There is a considerable variety of presence inspection used in machine vision.
To verify parts, assemblies and packaged goods, our vision systems provide high speed, reliable options for checking the presence, size, position, shape and completeness of features. Machine vision systems are also used to check assemblies, sub-assemblies and components are complete and meet customer specifications and to automatically identify defects before parts leave the production line allowing yields to increase and ppm counts to fall.
Read MoreMeasuring & Metrology
Measuring in machine vision is used to confirm the dimensional accuracy of components, parts and sub-assemblies automatically, without the need for manual intervention.
IVS® provides sub-pixel precision vision systems for reliable metrology, measurement and dimensionally accurate inspection. From checking simple geometrical tolerances to micron-level detection, customers can be confident that our metrology and measuring vision solutions provide robust and repeatable results. Powerful gauging wizards are incorporated into our vision systems, enabling customers to make sophisticated measurements to sub-pixel accuracy at very high speeds.
Read MorePattern Recognition & Pattern Matching
Pattern recognition and pattern matching is used in machine vision for automated quality checks to confirm that a pattern is presence and in the correct position, it is also used to enable automation through robot position and training.
Our pattern matching algorithms use a “gold master” training image as a “digital signature” pattern for the part, component, label, text or object that the vision system has to deal with. Powerful, precision geometrical algorithms then match at speed providing real-time inspection.
Read MoreCode Reading
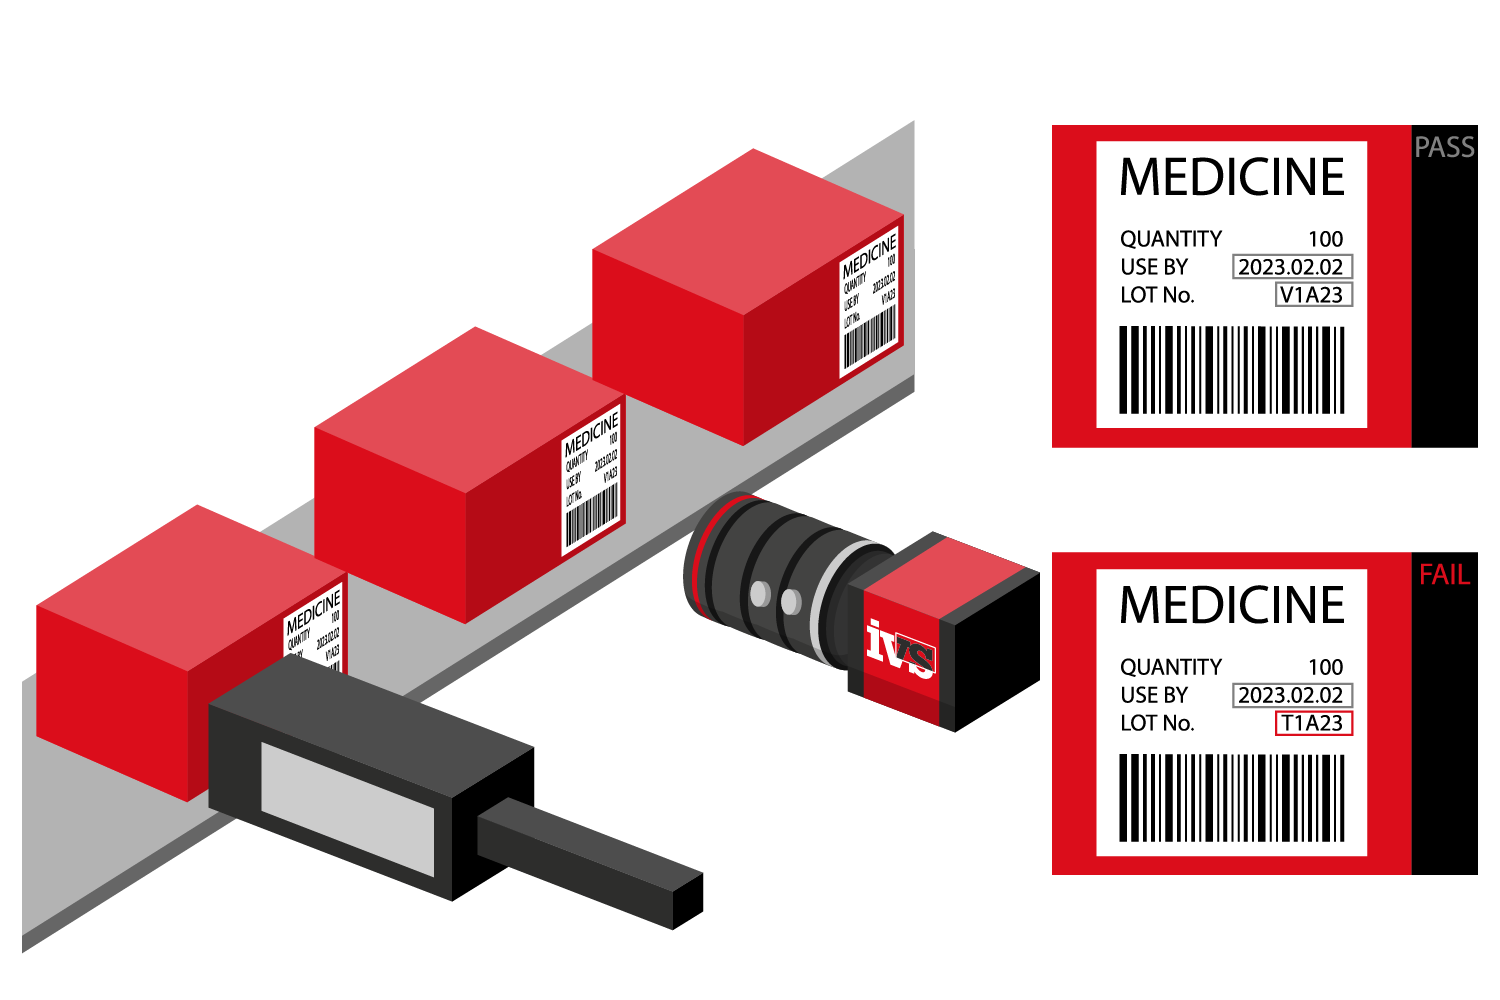
Powerful vision systems for the identification, decoding and grading of 1D and 2D codes as well as character strings for full production line traceability. All of the most common barcodes and data matrix codes can be read in any orientation at high speeds. Our code reading tools are designed to deliver accurate results in some of the toughest and most-demanding manufacturing environments.
Robust decoding and grading of all data matrix codes; maxi code; micro PDF417; PDF 417; and QR Codes. 1D code reading includes BC412; codabar, Code 128; Code 39; Code 93; Composite Code; EAN 8; EAN 13; Interleaved 2/5; Pharmacode; Planet, Postnet; UPC-A; and UPC-E.
Read MoreOptical Character Recognition (OCR)
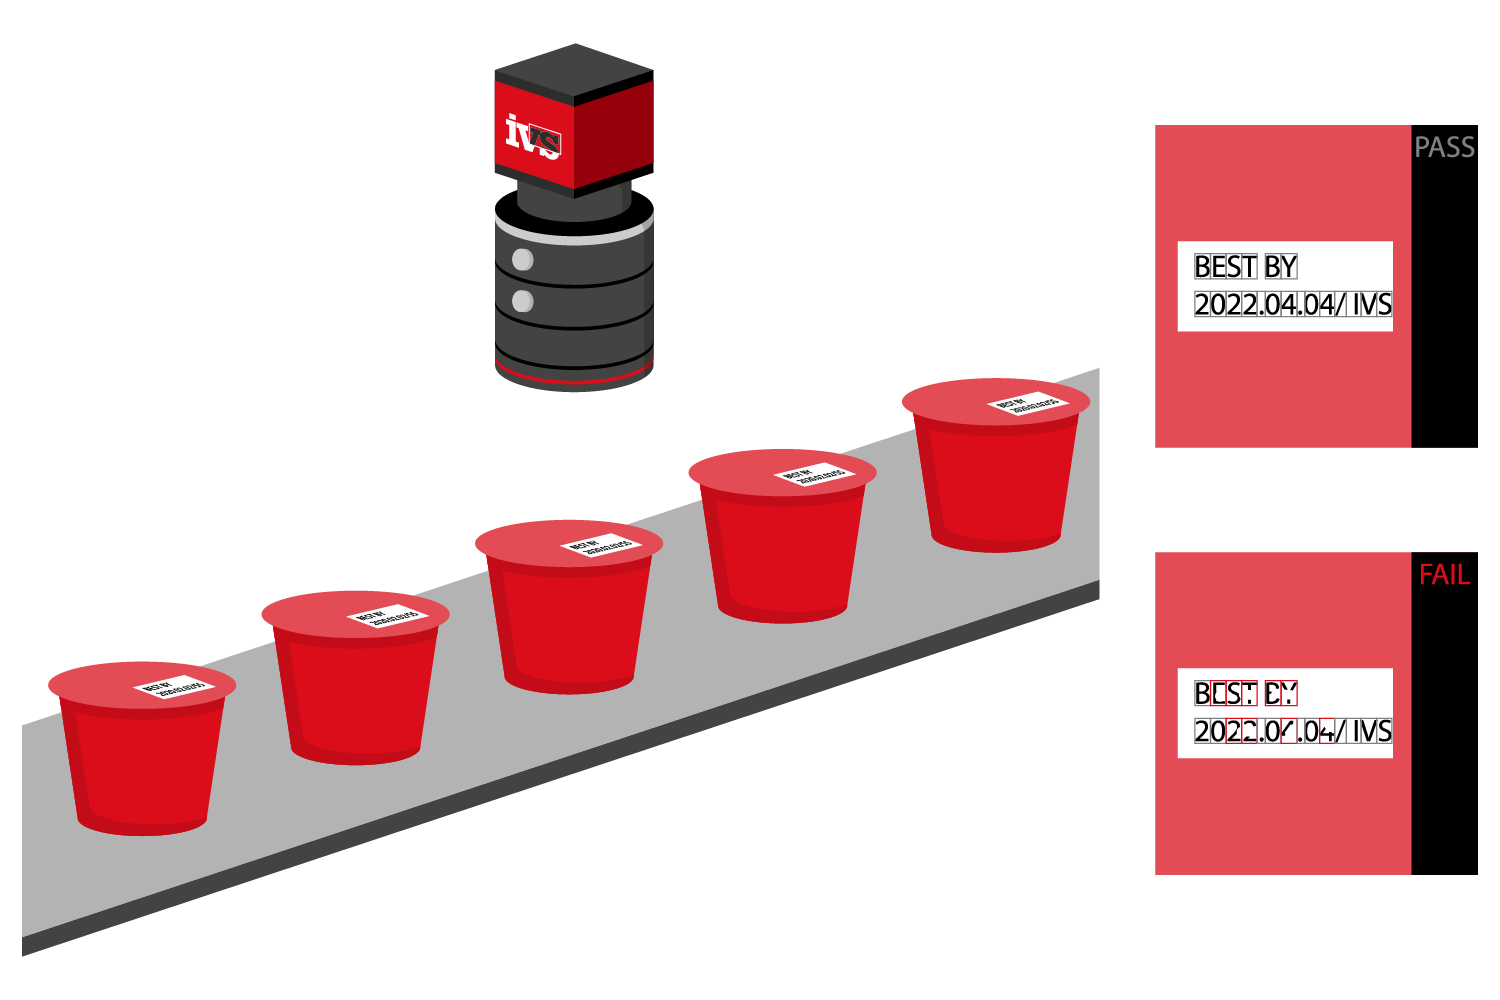
Powerful OCR (Optical Character Recognition) and OCV (Optical Character Verification) solutions for robust inspection and verification of complex numbers, character and language types. Train, classify and verify any character set – enabling the high-speed checking of scribed, stamped, printed or pre-printed text in all languages, fonts, sizes and styles.
From packaging label inspection through to laser etched identification of numbers, all character sets can be read robustly and repeatedly regardless of variations in ambient factory conditions and environments. Check scribed, stamped, printed or pre-printed text in all languages, fonts, sizes and styles.
Read MoreRobot Control
Precise 2D and 3D robot positioning and part guidance. IVS robot guidance and alignment solutions provide high precision feedback to all major robots. Using industry-leading machine vision tools to quickly and precisely locate and align components, patterns and fiducials, even under adverse conditions.
Reduce expensive tooling allowing products to arrive in any orientation and be guided accurately and robustly. Non-linear calibration corrects for lens and perspective distortions, providing exact co-ordinates and ultraprecision.
Read MoreColour Matching and Verification
Our powerful vision systems provide 24-bit colour processing to offer enhanced image processing and precision for quality control applications – everything from pill inspection and blister pack checks through to verifying food stuffs and electronic components. Check labels, features, conformal coats, beads, glue, food products, organic products and parts for detailed colour analysis.
Overall quality verification of parts, components and sub-assemblies is achieved through colour searching, pattern checks and template matching. Colour matching can be used for segmentation and analysis of products operating in RGB and HSI.
Read MorePrint Quality Inspection
Compliance, traceability and authentication of print, scribes, ink, stamps, labels, packaging and pressings. Powerful inspection at the point of marking or final inspection allows manufacturers to protect against shipping defective products – increasing customer satisfaction, brand image and provides our customers with a significant competitive advantage.
Check alignment, measurement, streaks, voids, pin-holes, scratches on labels, packs, parts, components, metal scribes and continuous printing and off-set printing equipment, digital printing and web inspection.
Read MoreSurface Inspection & Flaw Detection
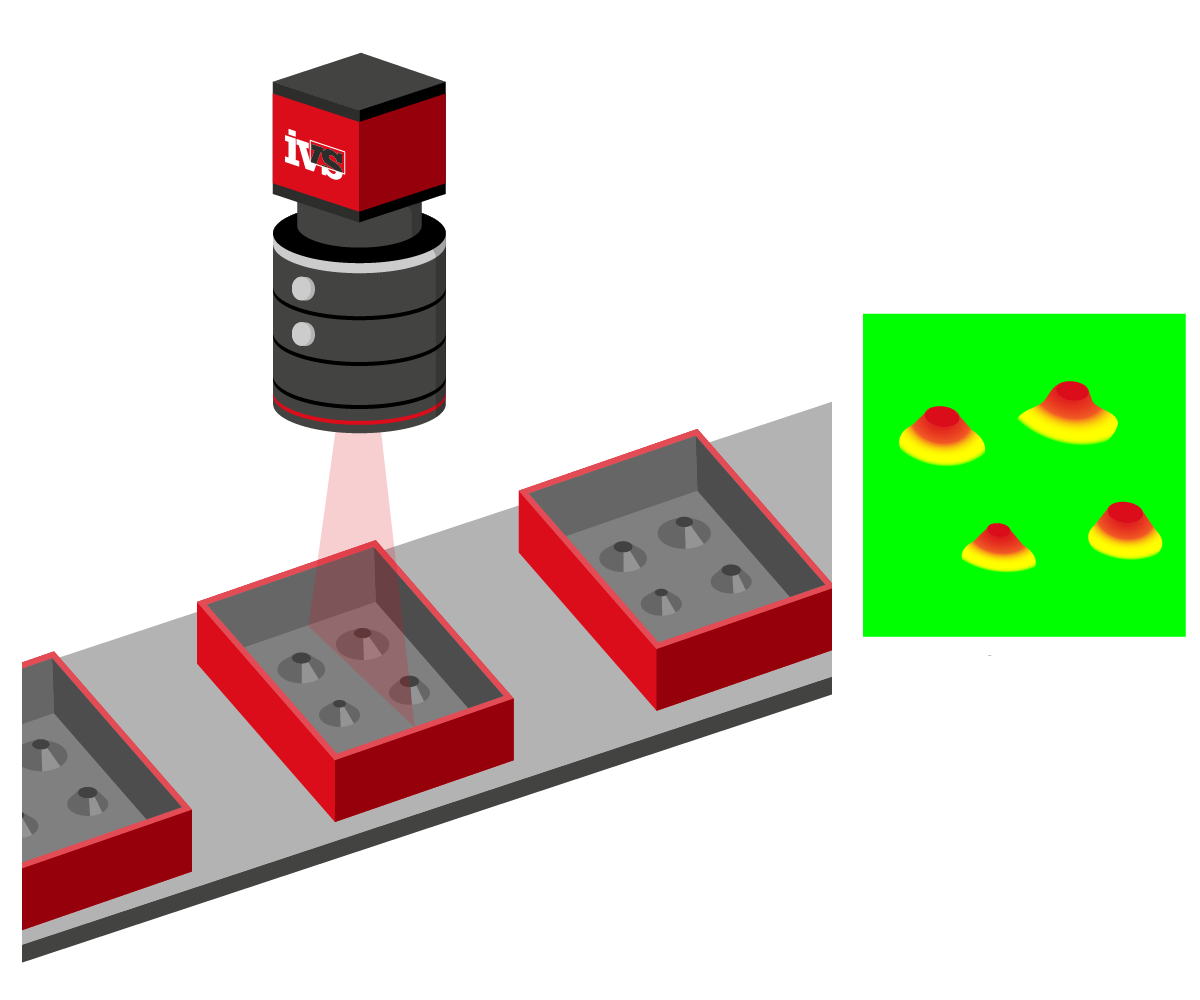
Advanced surface and flaw detection provides inspection for anomalies, contamination, scratches, cracks, discolouration or inclusions at high speeds. Check for stains, flaws, noise and pattern changes within your product surface. From single component inspection on one surface to multi-camera web inspection of materials, all areas of automated surface inspection are covered.
Read MoreImage Archiving
Automated traceability through photo capture, save and recall. Storing an image record of every product manufactured is now a critical tool in the modern production process, providing front line brand and warranty protection based on time-stamped photos in case of later warranty claims.
Automatic image archiving enables all the scanned images to be stored onto the system hard drive automatically without operator intervention. Easily recall your full production photos or view images of individual products before they left your facility.
Read MoreInterested in Machine Vision Applications?
Get in touch today so we can answer and questions you have regarding our machine vision applications. See how they can save you money, protect your brand and increase your yield.
Send us a message and we will respond as soon as possible.
Have a Question? Get in touch
More about the return on investment when using machine vision
The economic case for investing in machine vision systems is usually strong due to the two key following areas:
- Cost savings through reducing labour, re-work/testing, removing more expensive capital expenditure, material and packaging costs and removing waste.
- Increased productivity through process improvements, greater flexibility, increased volume of parts produced, less downtime, errors and rejections.
However just viewing the benefits from an economic perspective does not do justice to the true value of your investment. Machine vision systems can add value in all of the additional following ways. Unfortunately, due to the intangible nature of some of these contributors it can be difficult to put an actual figure on the value but that shouldn’t stop attempts to include them.
Intellectually
By freeing staff from repetitive, boring tasks they are able to focus thinking in ways that add more value and contribute to increasing innovation. This is good for mental health and good for the business.
- By reducing customer complaints, product recalls and potential fines machine vision can help to build and protect your brand image in the minds of customers.
- Building a strong image in the minds of potential business customers through demonstrating adoption of the latest technology, particularly when they come and visit your factory!
- Through the collection of better data and improved tracking machine vision can help you develop a deeper understanding of your processes.
Physically
- The adoption of machine vision can help to complement and even improve health and safety practice.
- Removing operators from hazardous environments or strenuous activity reduces exposure to sickness, absence, healthcare costs or insurance claims.
Culturally
- Machine vision can contribute and even accelerate a culture of continuous improvement and lean manufacturing.
- Through increased competitiveness and improving service levels machine vision helps build a business your people can be proud of.
Environmentally
- Contributing to a positive, safe working environment for staff.
- Through better use of energy and resources, smoother material flow and reduced waste machine vision systems can help reduce your impact on the environment.
The costs
Costs can range from several hundred for smart sensors and cameras up to half a million for complex systems. Of course this will depend on the size and scope of your operations and may be more or less.
However, even in the case of high levels of capital investment it should be obvious, from the potential benefits outlined above, that a machine vision system can quickly pay for itself.


