Machine vision systems are excellent at analysing products, capturing data and providing a large database of useful statistics for your operations and production manager to pore over. For products which are injection moulded we often get tasked with measuring key dimensions, gauging a spout or find the rogue short shot on a medical device. Normally this is at speed, with products running directly out of the Injection Moulding Machine (IMM), up a conveyor and into the vision input (normally a bowl feed, robot or conveyor), with the added bonus of images saved for reference as the automatic inspection takes place. If you’ve had a failure, it’s always a good idea to have the photo of the product to show to the quality team and for process control feedback. Let’s face it, the vision system is a goal keeper, and you need to feedback to the production team to help improve the process.
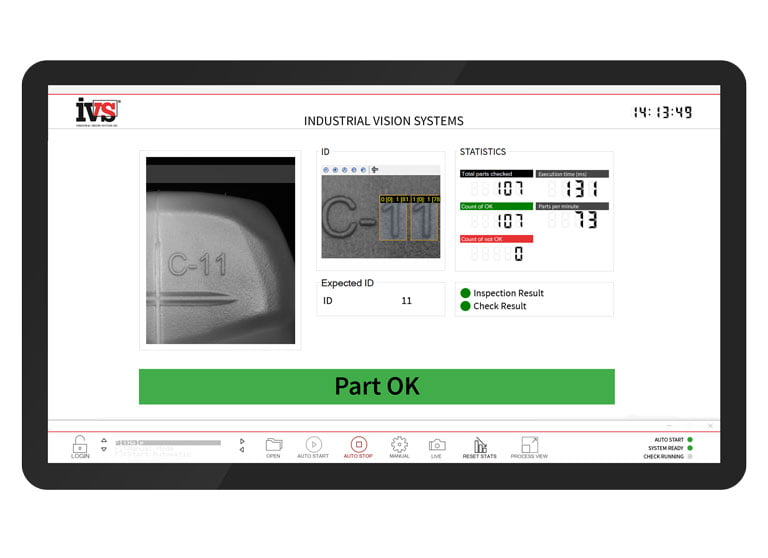
But what if the failure is intermittent and not always easy to capture? Your quality engineers may be scratching their heads, wondering why there is a product failure every now and then. Is there any way this can be tracked back to source? The neat answer is to complete cavity identification (ID) during the inspection process. The tooling for an IMM can include a cavity number so that each individual product has a unique reference. This is used for other forms of quality feedback, such as reviewing tool wear, tooling failures, short-shot imbalance and general troubleshooting for injection moulded products. So, if the cavity Identification number can be read at speed, saved and the data tracked against it, you start to see a picture of how your process is running, spikes in quality concerns related to a particular cavity, and ultimately full statistical process control of each tool cavity. Utilising precision optical character recognition allows vision systems to read each cavity number (or letter/or combination), to drill down the data to an individual cavity within the tool.
So next time the quality director comes down onto the shop floor asking what cavities are giving you problems, you’ll have all the data to hand (plus the photos to really wow them!).

